Summary of Article:
A standard preflight checklist covers the basics, but several commonly overlooked steps can reveal mechanical issues before you ever leave the ground. Start by adding these five quick steps:
- Moving the airplane
- Inspecting the ground for leaks
- Exercising the struts
- Cleaning antennas
- Testing avionics before startup
Pilots are diligent about the standard preflight checklist including checking fuel quality, oil levels, control surfaces, hinges, fuel vents, tires, and the usual walk‑around tour. Those items are essential for determining basic airworthiness and making sure the engine has what it needs: fuel, air, and spark.
But some may overlook a few additional things that can help prevent unexpected issues in flight. These steps aren’t always obvious, but they can reveal mechanical symptoms, performance problems, or safety concerns before you ever leave the ground.
Here are five valuable preflight steps worth adding to your routine.
1. Move the Airplane (Ground Feel Check)
One of the biggest preflight mistakes pilots make is not moving the aircraft before departure.
When you grab the tow bar and pull the aircraft out of the hangar, you’re doing more than repositioning, you’re using this movement as a diagnostic tool.
As you move the aircraft, take note of:
- Brake behavior
Are the brakes dragging or grabbing? That can reveal a sticking caliper or uneven wear. - Nose gear movement
Does it feel too loose or stiff? - Roll resistance
Anything unusual can indicate tire, bearing, or brake issues.
Ground handling feedback gives you a quick baseline of systems you rely on during taxi, takeoff, and landing.
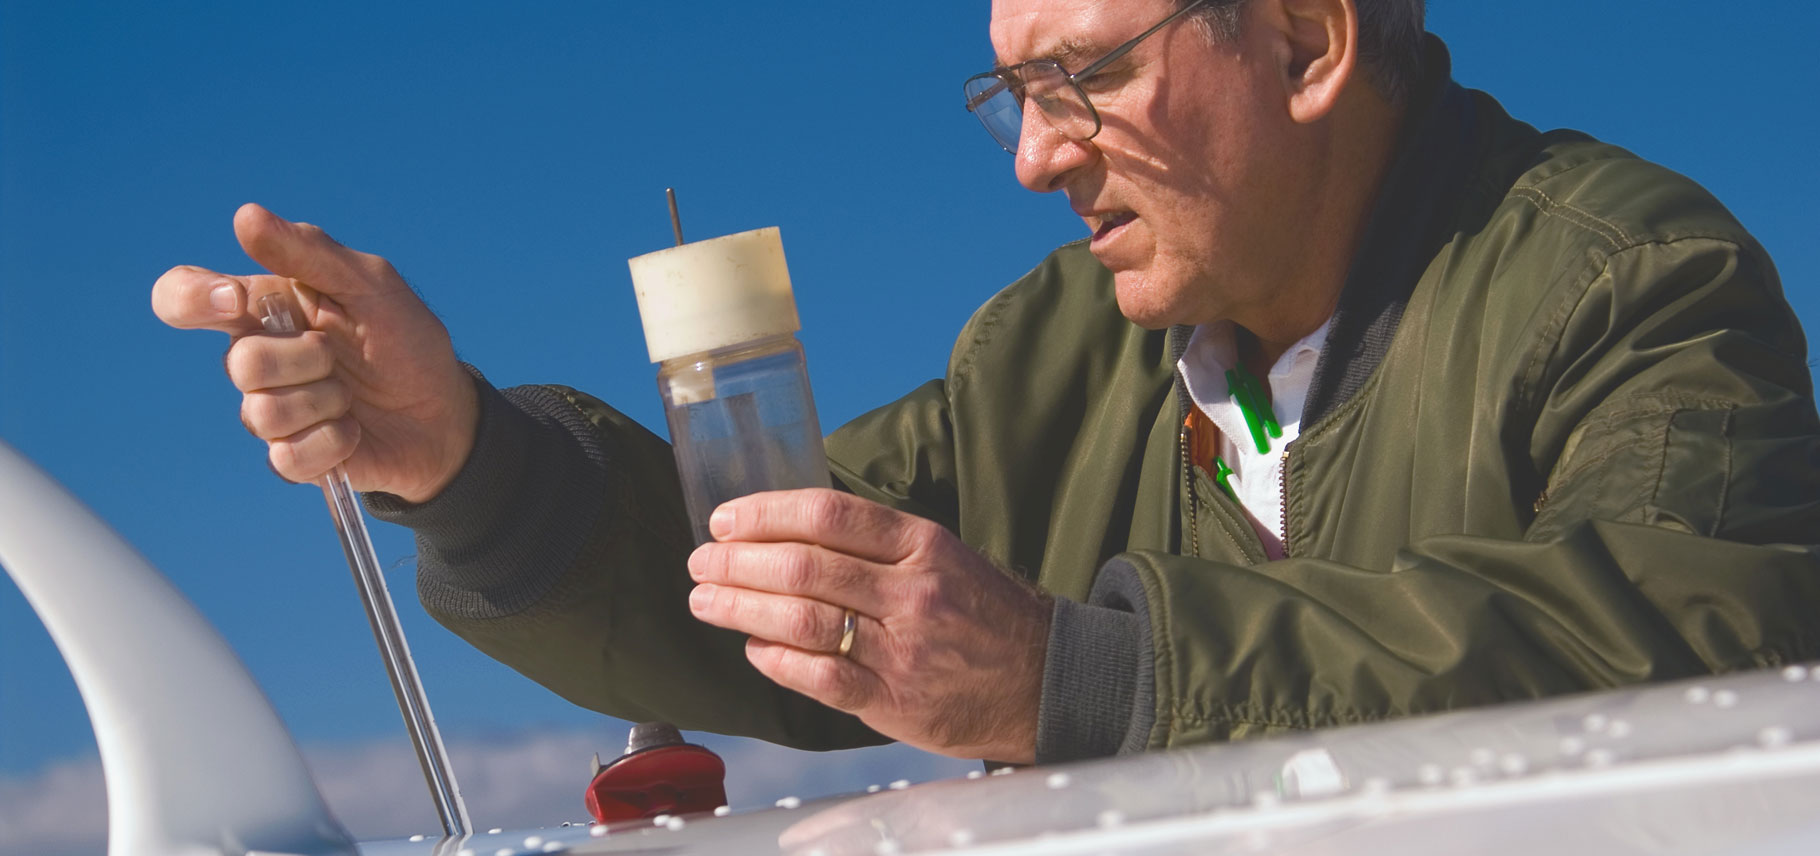
2. Read the Tarmac (Leak Check)
Once you’ve moved the airplane, pause and look at the ground where it was parked. The hangar floor often tells a story.
For example:
- A few drops of oil under the breather might be normal for your aircraft.
- Red fluid? Likely brake fluid (a leaking caliper deserves immediate attention).
- Fuel stains, hydraulic fluid, or coolant (in certain aircraft) are all red flags.
Leaks can indicate problems long before they become airborne emergencies.
3. Exercise the struts
If your aircraft uses oleo struts, this step is simple and valuable.
Gently:
- Grab the inside of the propeller (safely!)
- Bounce the nose strut a few times
- Do the same for wings if the main gear also has struts
You’re checking for:
- Smooth, even compression
- Correct resting height
- Signs of low nitrogen charge or internal friction
Struts tend to “stick” at the height they rested overnight. A few bounces reveal what the strut will really do on landing, when you’ll actually depend on it.
4. Clean the Antennas (Comms & Nav Performance)
Antennas accumulate oil, dust, and grime and few pilots think about them until they stop working.
Dirty antennas can lead to:
- Reduced VHF range
- Poorer GPS reception
- Garbled transmissions (and annoyed controllers)
A quick wipe with a soft cloth during preflight can prevent airborne communication issues, improve reliability, and help keep frequencies clean for everyone.
5. Check the Avionics
Some pilots keep avionics powered off until the engine is running, but a preflight avionics check can prevent serious in‑air surprises, especially in IFR operations.
Before startup, power up your avionics and test:
- Autopilot engagement
- GPS lock
- Audio panel and intercom clarity
- Nav/Comm performance
- Stabilization systems
- Backup attitude indicators
- Electric turn & bank instruments (noisy bearings? inconsistent movement?)
Catching a failing instrument or questionable GPS lock on the ground is always safer than discovering it in the clouds.
A Few Extra Minutes = Safer Flights
Adding these quick steps to your preflight routine will:
- Help you spot developing problems early
- Increase your confidence in your aircraft
- Reduce in‑flight troubleshooting
- Enhance overall safety and awareness
Over time, you’ll start to understand your aircraft a little better. Plus, more often than not, problems are far easier to fix on the ground than in the air.
Until next time…
Happy Flying!

If you power up avionics before engine start, you better turn them back off before starting. The voltage drop followed by a surge can kill electronics quickly. The same is true of turning on the battery switch either the master. That’s tough on the voltage regulator. Better to make that switch a step in the check list. I’m a retired avionics technician with well over 50 years on aircraft, military and GA.
Great idea!!
Well done Jeff. Clearly these are valuable tips for all pilots to take on board. However, in relation to IFR pilots, there is an implication that it may not be common practice to check the avionics and autopilot are working correctly prior to departure. Hopefully this is not the case…
Just when you think you have completed your pre-flight: take a quick walk around the airplane to double check for chocks, tie downs, tow bar, dipstick, fuel caps, pitot covers, bag door. I have witnessed pilots who have been distracted during the initial walk-around by passengers, phone calls, people stopping to talk, etc. and had overlooked one or more of the aforementioned pre-flight items.
Dirty antennas do not cause garbled transmissions. Whereas real crud on a GPS antenna may cause poor signal gathering that’s about it. I have been playing with antennas for more than 50 years and the only thing that impacts their ability to send a proper signal is ICE and if your antennas are full of ICE so are your wings so stay home!
I agree with William. Besides being an A&P, I’ve been a “ham” radio enthusiast for 60 years. RF cannot ‘see’ dirt … especially at VHF frequencies. The GPS and transponder antennas … maybe … but there’d have to be a LOT of dirt on ’em. The actual antenna ISN’T the outside white part you see … it’s embedded inside of that covering. So if the signal goes thru that plastic … so too will it go thru some dirt. There are a few antennas that are bare metal … those could be impacted but most antennas are not that design. This is an old wives tale.
The effect of contamination on antenna performance depends on the contamination chemistry, moisture content, thickness and RF frequency. In some scenarios it will degrade RF performance enough to render a system inoperative. Underbelly antenna and wet clay based runways are a particularly bad combination in this regard – exactly the combination at our grass airfield. Transponder and ADF are occasionally unreliable during wet winter operations unless rinsed off.
I agree with Jeff. Especially the cleaning of the antennas. The XPDR antenna is most effected by dirt and most of the time is somewhere in the slipstream behind the engine crankcase vent system. Wipe it often.
These are excellent items to add if you are not doing them currently. Rolling the aircraft also alows you to see flat spots or cord in the tire, works best on aircraft without wheel pants. Another item is standing back from the aircraft and looking at it. You can spot problems that you will miss when standing on top of them.
Rather than conducting a pre-flight inspection on the date of flight, I prefer to do a thorough post-flight inspection within a day or two following my last flight. That way, I can catch and timely correct any unexpected surprise(s) that might otherwise prevent me from launching the next time that I want to fly. That leaves just one pre-flight inspection (#1 above) on the date of the next flight, at which time I also visually inspect the tires for irregular wear (or worse).
Then I can strap on a plane and go fly!
Great blog,
Especially the part about moving the plane. I think that quite a few things can be diagnosed not only on the plane itself, but also by taking a look at where it’s been sitting.
Always great to remember that unlike a car, there is no pulling over to check a weird noise, or smell.
Nice work!